Smooth and well-defined animations contribute a great deal to creating enjoyable and intuitive apps. Our aim with this article is to explore how the Reanimated 2 library improves the whole process of making animations in a React Native app.
The thing with the React Native ecosystem is that code runs outside the main thread of the application, determining the frame rate of the app to drop while performing the heavyweight tasks. With animations and interactions, this design does not perform optimally, since the updates occur in different threads: the JavaScript thread and the UI thread.
So when we have a lot of updates and animations, the updates in the JavaScript thread cannot be reflected in the UI thread in real time.
This leads to incomplete interactions or events that feel like lags because the UI thread never waits for the JavaScript thread to complete. Plus, other major JavaScript processes can cause a significant delay in roles.
The Reanimated library addresses this issue by taking the animation and event handling load off the JavaScript thread and by giving it directly to the UI thread.
With updates and frame changes both happening within the UI thread, we can now create performant animations in React Native more easily.
Most importantly, Reanimated version 2 has introduced worklets - small blocks of JavaScript code that can be migrated to distinct compilers and executed synchronously on the UI thread. This results in a faster response to interactions and obtaining smooth UI transitions.
In this article, we will follow this structure to show how to use Reanimated and hook-based animations with React Native (click to navigate):
- Benefits of React Native Reanimated 2 package
- Project setup
- How to Build Animations using Hooks
3.1. Applying animation to Button View
3.2. Creating a Sliding Animation Effect with Delay
3.3. Multiple Button View with different Entry delay Animation - Conclusions
1. Benefits of React Native Reanimated 2 package
Reanimated enables us to create performant animations and user interactions that run quickly on the UI thread without any frame drops.
Version 1 of Reanimated was implemented to work coherently with the React Native Animated API, offering a complete set of primitives for defining interactions.
Version 2 came with a bunch of upgrades:
- The overall approach was changed to give a better performance balance to the animation along with the entire app.
- The limitations in terms of declarative API design were fixed, so that we can write interactions and animations using intuitive declarative API.
- Introduced worklets that can be written in pure JavaScript.
- Shared Values, which use the
useSharedValuehook, which help us avoid single animations. This hook can carry primitive types along with arrays, objects, and functions. - View prop is connected to Shared Value using the
useAnimatedStylehook. It returns the style values to theViewwhenever there is an update to shared value. - We can also use hooks to serve as event handlers. Hooks offers an event hook that can work coherently with the Gesture Handler library, allowing us to define a separate worklet for handling different handler states.
2. Project setup
First, we're going to set up a new React Native project.
react-native init animationsThen, install react-native-reanimated library. For the purposes of this article, I'm using the current latest version 2.0.0-alpha.9.2.
yarn add react-native-reanimated@nextComplete installation docs can be found here - Installing the package. Please follow them before continuing.
3. How to Build Animations using Hooks
First and foremost, we need a simple React Native screen template to perform animation on. We can use the code from the following code snippet in our App.js file, a starter template code:
import React from "react";
import { View, SafeAreaView, StyleSheet, Text } from "react-native";

function Button({backgroundColor = 'tomato', children}) {
  return (
    <View
      style={[
        styles.button,
        {
          height: 80,
          width: 250,
          backgroundColor,
        },
      ]}>
      <Text style={{fontSize: 30}}>{children}</Text>
    </View>
  );
}

function App() {
  return (
    <SafeAreaView style={styles.mainContainer}>
      <Button backgroundColor="#7ab2c9">Button</Button>
    </SafeAreaView>
  );
}

const styles = StyleSheet.create({
  mainContainer: {
    flexDirection: 'column',
    justifyContent: 'center',
    alignItems: 'center',
  },
  button: {
    borderRadius: 25,
    flexDirection: 'row',
    justifyContent: 'center',
    alignItems: 'center',
    shadowColor: '#000',
    shadowOffset: {
      width: 0,
      height: 7,
    },
    shadowOpacity: 0.43,
    shadowRadius: 9.51,
    elevation: 15,
  },
});

export default App
Here, we have created a Button view using the View component with some styles.
The label can be passed as the child of the Button component.
Now, running this app in emulator will provide the following result in the screen:
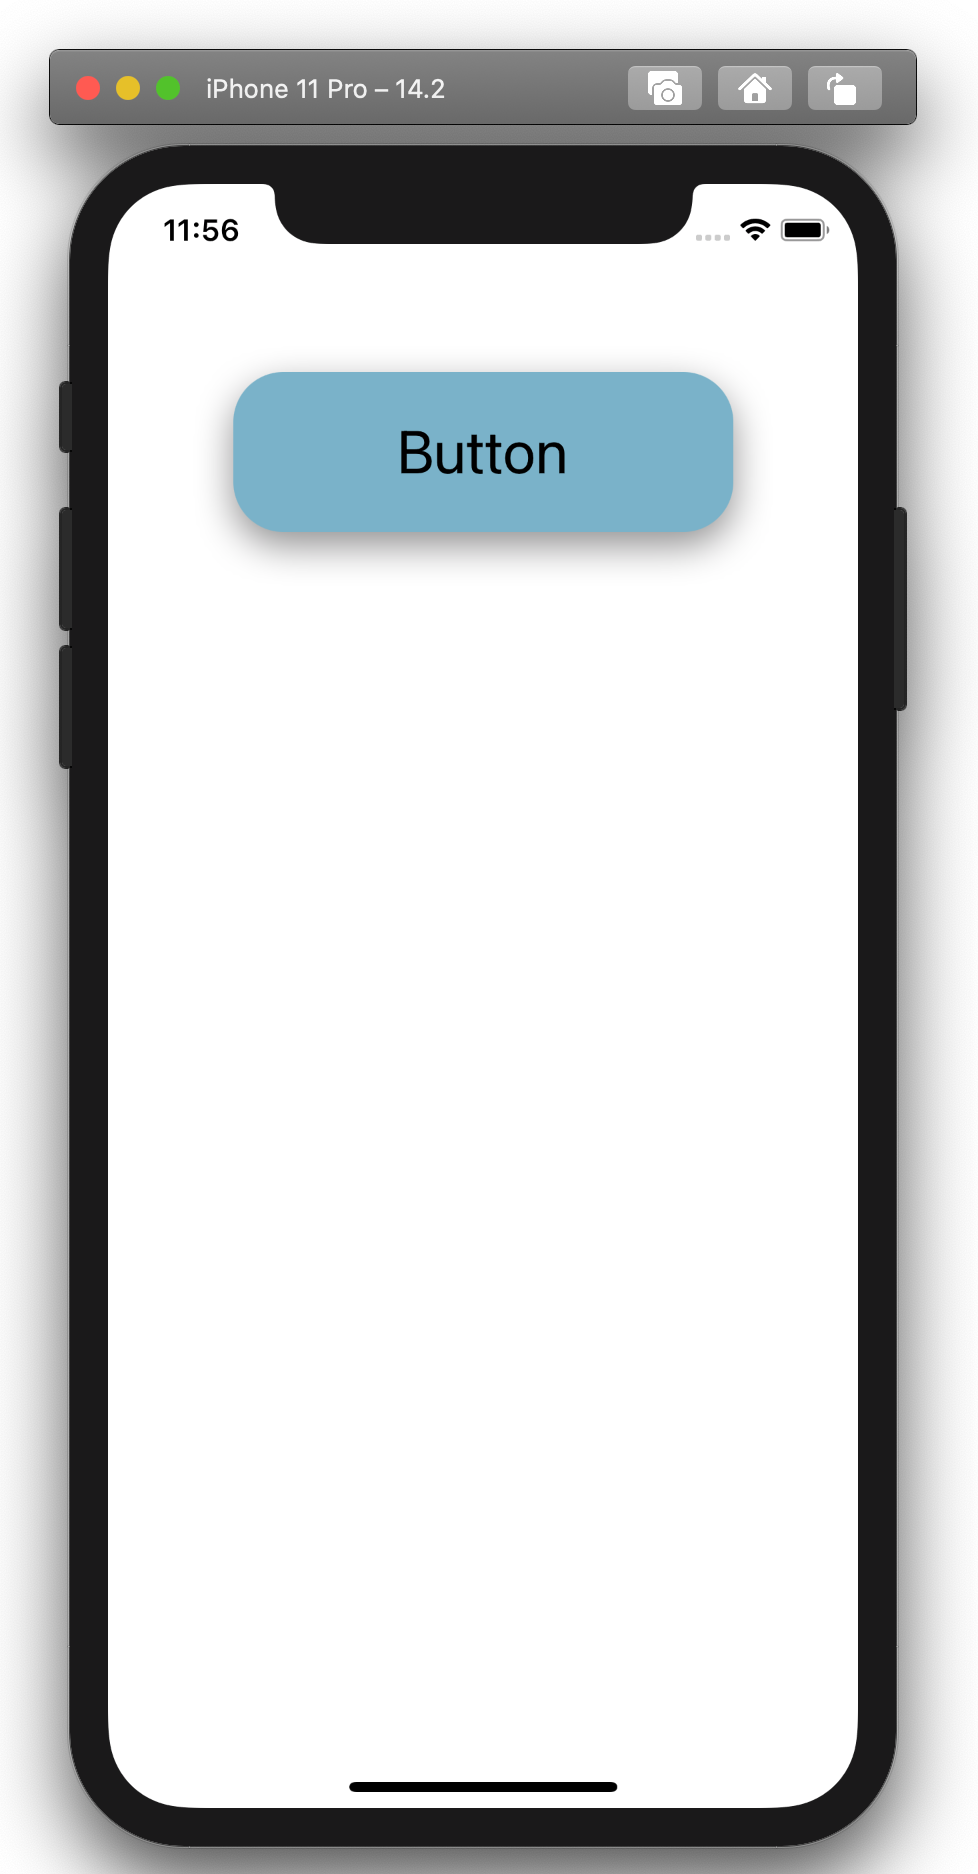
Now, we are ready to perform some animations on the Button view.
3.1. Applying animation to Button View
Here, we are going to apply two kinds of animation:
- Scale animation which will provide a clicking effect.
- Entry animation which will provide a sliding button effect once we enter the screen.
First, we are going to apply the scale animation. For that, we need to create a separate animation file called ScaleAnimation.js in the root project folder. Inside the file, we can apply the following animation code:
import React from 'react';
import {TouchableWithoutFeedback} from 'react-native';
import Animated, {
  useAnimatedStyle,
  useSharedValue,
  useDerivedValue,
  withTiming,
  Easing,
  interpolate,
  Extrapolate,
} from 'react-native-reanimated';

const TimeConfigurations = {duration: 50, easing: Easing.linear};

export const ScaleAnimation = ({onPress, children, scaleTo, disabled}) => {
  const pressed = useSharedValue(false);
  const progress = useDerivedValue(() => {
    return pressed.value
      ? withTiming(1, TimeConfigurations)
      : withTiming(0, TimeConfigurations);
  });
  const animatedStyle = useAnimatedStyle(() => {
    const scale = interpolate(
      progress.value,
      [0, 1],
      [1, scaleTo],
      Extrapolate.CLAMP,
    );

    return {
      transform: [{scale}],
    };
  });

  return (
    <TouchableWithoutFeedback
      onPressIn={() => {
        pressed.value = true;
      }}
      onPressOut={() => {
        pressed.value = false;
      }}
      onPress={onPress}
      disabled={disabled}>
      <Animated.View style={animatedStyle}>{children}</Animated.View>
    </TouchableWithoutFeedback>
  );
};
We have just implemented a new function component that facilitates the scale animation configuration.
We used the Boolean value to initialize the useSharedValue in pressed constant. The value in pressed constant that helps conditionally select the configuration is useDerivedValue. Then, we applied the progress instance to useAnimatedStyle with interpolate method. At this point, we interpolate the animation on the basis of progress value, then we apply the scale interpolation to transform property for animation. All the configurations are applied to the template element Animated.View.
We are familiar with the concept of Animated.value from the previous version of the reanimated package. Well, in Reanimated 2,we use the useSharedValue hook instead of Animated.value.
The value stored in this hook is accessible across both the UI and the JavaScript engine. SharedValue carries data, provides reactiveness, and drives animations. By using the value property, we can read the data from the shared value which in the above code is offset. The useDerivedValue hook enables us to configure shared value reference that changes in response to updates in one or more shared values as a whole. The useAnimatedStyle hook captures the shared value and automatically subscribes to updates and the styles.
Now, we need to import this ScaleAnimation component toto App.js:
import { ScaleAnimation } from './ScaleAnimation';
Then, we need to wrap the View component referencing button view with ScaleAnimation with all the necessary props configured as shown in the code snippet below:
function App() {
  return (
    <SafeAreaView style={styles.mainContainer}>
      <ScaleAnimation onPress={() => {}} disabled={false} scaleTo={0.97}>
        <Button backgroundColor="#7ab2c9">Button</Button>
      </ScaleAnimation>
    </SafeAreaView>
  );
}
Hence, now we can get the scale animation in the Button view which resembles the clicking animation:
3.2. Creating a Sliding Animation Effect with Delay
Now, we are going to apply another animation effect that is a sliding animation effect on the button view. For that, we need to create a new animation file called EntryAnimation.js:
import React, {useEffect} from 'react';
import Animated, {
  useAnimatedStyle,
  useSharedValue,
  useDerivedValue,
  interpolate,
  withDelay,
  withTiming,
} from 'react-native-reanimated';

export const EntryAnimation = ({children, index}) => {
  const play = useSharedValue(false);
  const progress = useDerivedValue(() => {
    return play.value
      ? withDelay(50 * (index ?? 0), withTiming(1, {duration: 350}))
      : 0;
  });

  useEffect(() => {
    play.value = true;
  }, []);

  const animatedStyle = useAnimatedStyle(() => {
    const opacity = interpolate(progress.value, [0, 1], [0, 1]);
    const translateY = interpolate(progress.value, [0, 1], [100, 0]);

    return {
      opacity,
      transform: [{translateY}],
    };
  });

  return <Animated.View style={animatedStyle}>{children}</Animated.View>;
};
Here, we have shown the use of withDelay hook that delays the entry of the animation based on index value which will pass as prop from the parent component. Then, we have used the SharedValue on the play constant which is then called on useEffect hook to trigger animation during the screen entry.
Inside useAnimatedStyle hook, we have used two interpolation instances: one for animated opacity and the other for vertical animation.
Then we lastly applied the Animated.View component.
Now, we need to import this animation component to App.js:
import { EntryAnimation } from './EntryAnimation';
We need to wrap the ScaleAnimation component with EntryAnimation passing the index value for delay effect as shown in the code snippet below:
function App() {
  return (
    <SafeAreaView style={styles.mainContainer}>
      <EntryAnimation index={1}>
        <ScaleAnimation onPress={() => {}} disabled={false} scaleTo={0.97}>
          <Button backgroundColor="#7ab2c9">Button</Button>
        </ScaleAnimation>
      </EntryAnimation>
    </SafeAreaView>
  );
}
As a result, we get a sliding entry animation on button view, like this:
3.3. Multiple Button View with different Entry delay Animation
Now, we are just placing the multiple button view i.e. everything wrapped inside the EntryAnimation component with different index values to create varying entry effects:
function Spacer() {
  return <View style={{height: 50, width: 50}} />;
}

function App() {
  return (
    <SafeAreaView style={styles.mainContainer}>
      <EntryAnimation index={1}>
        <ScaleAnimation onPress={() => {}} disabled={false} scaleTo={0.97}>
          <Button backgroundColor="#7ab2c9">Button</Button>
        </ScaleAnimation>
      </EntryAnimation>

      <Spacer />

      <EntryAnimation index={2}>
        <ScaleAnimation onPress={() => {}} disabled={false} scaleTo={0.97}>
          <Button backgroundColor="#cb6442">Button</Button>
        </ScaleAnimation>
      </EntryAnimation>

      <Spacer />

      <EntryAnimation index={3}>
        <ScaleAnimation onPress={() => {}} disabled={false} scaleTo={0.97}>
          <Button backgroundColor="#e5cabb">Button</Button>
        </ScaleAnimation>
      </EntryAnimation>
    </SafeAreaView>
  );
}
We get the varying delay effect on entry animation of different button views as demonstrated below:
The Hooks available improves the performance as well as the utility of the overall animation in the React Native ecosystem.
Note that the animations shown in the demo can be a bit slow due to the emulator performance and device specifications. But there is no doubt that the animations will be smooth in the actual device.
Conclusions
The major objective of this article is to showcase how the Reanimated library directly connects updates with the UI thread for changes, thus making the animations smooth and quick.
With Reanimated, most of the logic that is dealt with by the JavaScript thread takes its concern off the animation logic. Another important thing we learned is the use of hook-based animations made possible by Reanimated 2. Instead of unintuitive declarative codes, we used worklets to write in pure JS.
The animation example provided can be used with any other React Native components like images, scroll view, FlatList items, and so on. Now, your challenge is to try them out with different React Native components.
Complete code is available on GitHub.
Hopefully, this article helped you understand how to build smooth, performant animations in React Native. If you still have questions, we warmly welcome them in the comments section ☺️. Oh and if you learned something in this article, maybe you want to learn some more by subscribing to our newsletter (check below).